

Best Floor Protection Film Company for Keeping Floors Safe During Renovation
2026-08-16
Renovation projects can be brutal on floors—spilled paint, dropped tools, and constant foot traffic leave permanent damage before you even unpack the furniture. That's why choosing the best floor protection film company is a decision that pays off every step of the way. At Shire, we've seen too many beautiful hardwood and tile floors ruined by cheap, thin films that tear under pressure. The right protection does more than cover—it grips, absorbs impact, and stays put until the last worker leaves. So how do you separate real protection from a plastic placebo? Stick around; we're about to walk you through exactly what to look for.
What Real Contractors Look for in Floor Protection Film
Contractors don't judge floor protection by the specs on the box—they judge it by how it survives the first week. A film that punctures when a drywall screw hits the floor or tears at the seam when a ladder shifts is instantly useless. The good stuff has a balance of thickness and flexibility: tough enough to resist gouges from tool drops and rolling loads, but not so stiff that it lifts at the edges and becomes a trip hazard.
Another non-negotiable is the adhesive. Real jobsites involve dust, mud, paint spills, and constant foot traffic, so the film has to stay put without creeping or bunching. But it also has to come up clean after two or three months—nobody has time to scrape residue off a client's new hardwood. Contractors typically test a corner by sticking and peeling to see if the tack is predictable, not aggressive.
Finally, it comes down to installation speed and coverage. A roll that unrolls flat and can be cut with a knife without fighting the curl saves a crew's morning. Contractors want to lay long, overlapping strips that don't shift under wheelbarrows or scaffolding, and they notice when a film is too thin to bridge small gaps or too narrow to cover a hallway in one pass.
The Hidden Risks of Skipping Temporary Floor Covering During a Remodel
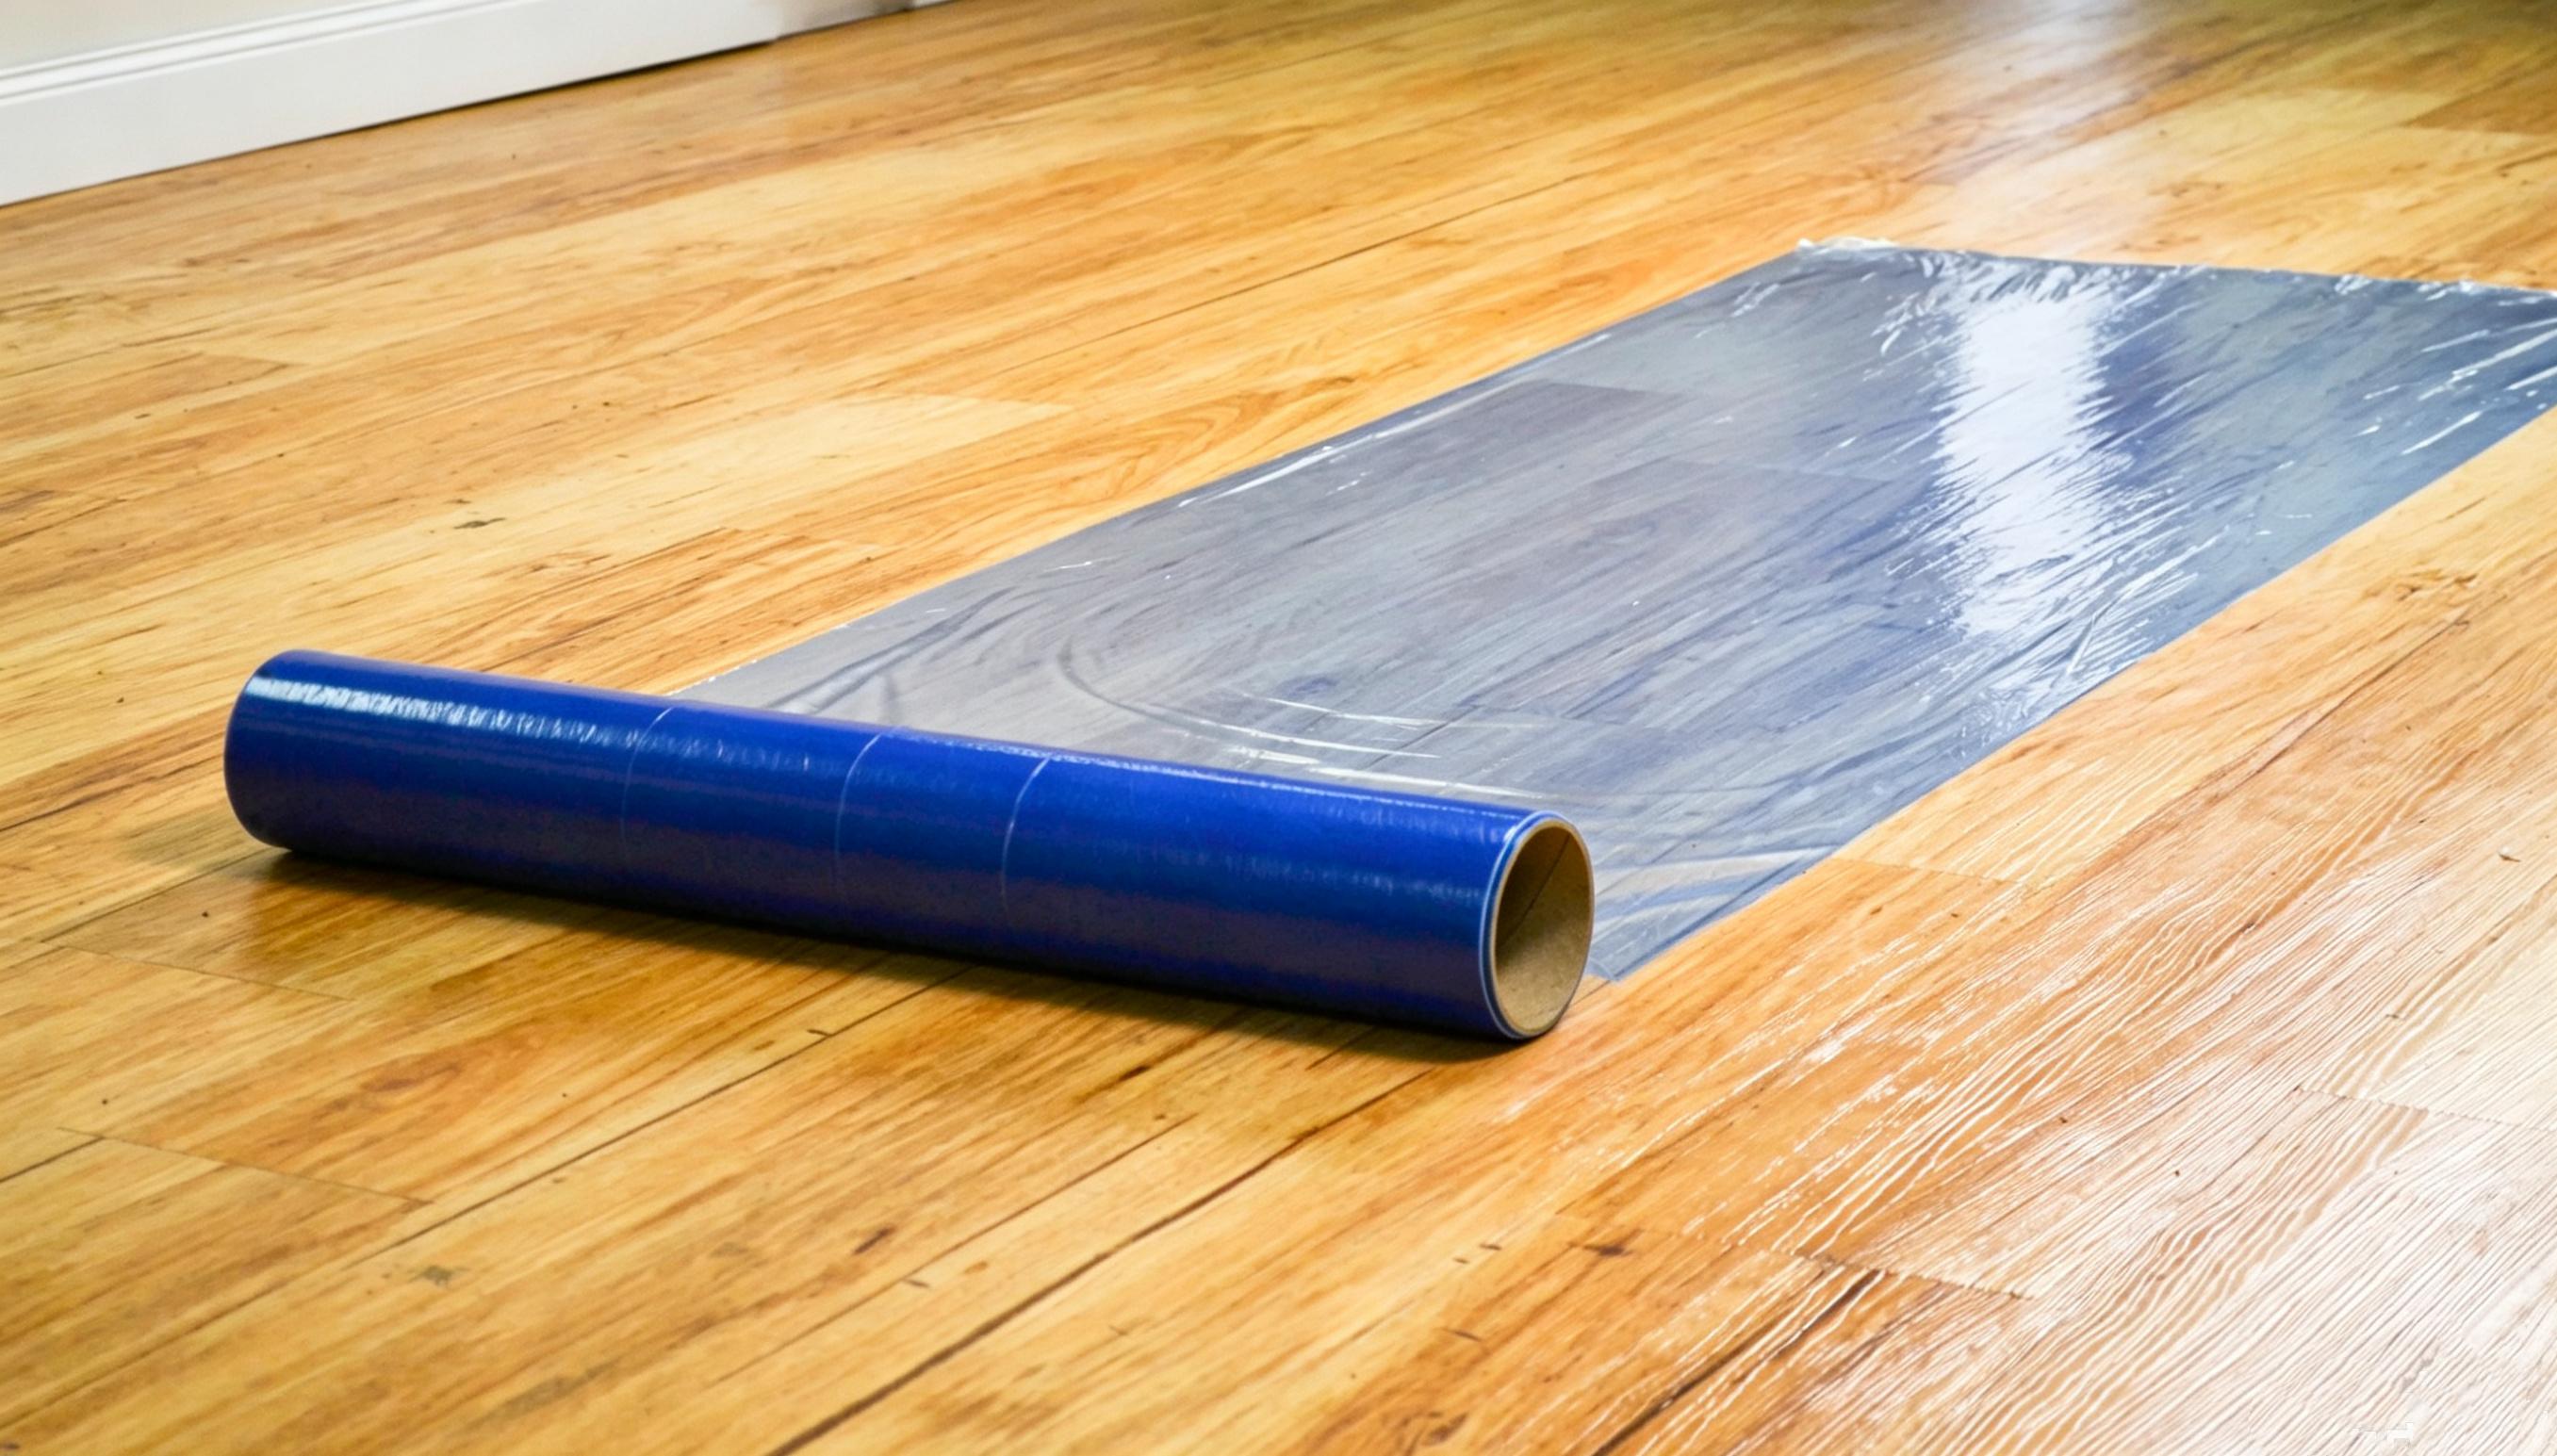
Remodeling stirs up more than just dust. Paint drips, dropped tools, and scuffed work boots can leave lasting marks on floors you never intended to replace. Without a temporary covering, even a quick trip to the bathroom becomes a gamble. One spilled can of stain or a dragged ladder can turn a weekend project into an expensive flooring overhaul.
The damage isn't always obvious at first. Fine scratches from drywall dust grind into the finish with every step. Adhesive residue from tape and plastic sheeting bakes into the surface under warm work lights. Over time, these small insults dull the sheen and weaken the top layer. By the time you notice, the only fix is sanding or full replacement.
Contractors often overlook this step to save a few minutes, but homeowners pay the real cost later. A simple roll of rosin paper or a few interlocking mats can prevent thousands in repairs. It's not about being overly cautious; it's about respecting what's already underfoot. Skip the covering, and you might find yourself picking out new flooring before the remodel even ends.
How Surface Type Changes Which Protective Film You Need
A film that sticks perfectly to a sheet of glass will often peel right off a matte plastic housing. Smooth, non-porous surfaces like glass or polished aluminum let the adhesive spread into a continuous, thin layer, so you can use a low-tack, optically clear film without trapping air. Textured or low-energy plastics—think polypropylene or powder-coated metal—don't give the adhesive much to grip. Those surfaces call for a thicker, high-tack film with a more aggressive adhesive and enough body to bridge the microscopic peaks and valleys without forming bubbles.
Shape and flexibility matter just as much as texture. A rigid flat screen can take a hard, scratch-resistant film, but a curved display or a soft-touch dashboard needs a film that stretches and conforms without pulling back at the edges. Painted or coated surfaces add another variable: some clear coats and oleophobic treatments shed adhesive like a nonstick pan, so you'll need a film designed for low surface energy or one that uses a removable, damage-free adhesive. Choosing wrong isn't just a cosmetic issue—the film can lift, leave residue, or even pull up the surface coating when you remove it.
Why Adhesive Strength Matters More Than You Think
Most people assume any adhesive will hold as long as it feels tacky at first. That assumption falls apart under real-world stress. Adhesive strength isn't just about initial grip—it's about how the bond behaves when temperature swings, vibration kicks in, or two different materials expand at different rates. A weak bond might survive a quick test but fail quietly during use, leaving you with a product that looks fine until the moment it doesn't.
The hidden cost of under-specifying adhesive strength shows up in warranty claims, returned goods, and field failures that never get traced back to the glue. Engineers often focus on the substrate or the fastener, but the adhesive is the silent partner carrying load between them. When it gives way, the whole assembly can shift, crack, or separate—sometimes with serious safety consequences. Strong adhesion isn't just about preventing breakage; it's about preserving the structural integrity of the entire design over years of service.
Choosing the right adhesive means looking beyond the label's shear or tensile number on a data sheet. Substrate porosity, curing time, environmental exposure, and even application thickness all change how strong the final bond really is. A cheaper adhesive that requires rework or fails in the field costs far more than a higher-performance option selected for the specific job. In the long run, adhesive strength is less about the product price and more about avoiding the expensive surprises that weak bonds invite.
A Room-by-Room Look at Renovation Floor Protection
Let's start in the kitchen, where dropped tools and dragged appliances can wreak havoc fast. A layer of thick builder's paper topped with rosin paper works well here, but for heavy foot traffic and rolling carts, swap in sheets of 1/4-inch plywood or hardboard. Tape all seams with a low-tack painter's tape, and don't forget to cover the toe kicks—scuffs there are easy to miss until the final walkthrough.
In living rooms and dining areas, the focus shifts to furniture shifting and paint splatter. Reusable canvas drop cloths beat plastic sheeting for these spaces because they stay put without getting slippery, and they absorb minor spills instead of letting them pool. If you're sanding or doing drywall work nearby, add a breathable membrane like Ram Board over the canvas to catch dust without trapping moisture.
Bathrooms and hallways need extra care around doorways and thresholds. Use self-adhesive carpet film on smooth vinyl or tile—it clings tight and peels off clean after a week. For hardwood or engineered floors, skip the adhesive and lay down interlocking foam tiles. They cushion dropped hammers and give your knees a break during long days of trim work. Wherever you work, check the protection daily; a torn corner can let grit grind into the finish underneath.
Comparing Budget Films vs. Professional-Grade Floor Protection
You can usually tell the difference before the first boot steps on it. Budget film is thin, noisy, and shifts underfoot, especially on stairs or anywhere with foot traffic. It works fine if you are just covering furniture for a quick sanding pass, but as soon as a ladder scrapes or a tool drops, you will find tears and punctures that let paint, water, or drywall compound straight through to the floor.
Professional-grade protection behaves like an actual work surface. Materials like reinforced paper, fiberboard, or multi-layer fabric stay flat without tape peeling at the edges. They shrug off dropped screws and wet spills instead of turning into a slick plastic skating rink. The best ones have a slight tooth to the surface, so your boots grip rather than glide, which matters more than people expect during a long remodel.
Upfront, budget film feels like a bargain, but the math flips halfway through a job. You end up doubling layers or replacing torn sections, and the cleanup still leaves residue and micro-tears to chase. Most professional options can be swept, folded, and reused on the next project, which cuts both cost and landfill waste. The real difference is not price per roll; it is how much floor you have to repair or refinish after the protection fails.
FAQ
They focus on real-world renovation abuse—think dropped hammers, paint spills, and muddy boots—and their film has a textured top layer that stays slip-resistant even when wet. It’s also available in wider rolls to cover more floor with fewer seams.
You can lay it down by hand in minutes. The adhesive is pressure-sensitive, so it grabs well with just a firm walk-over or a soft roller. No tape, no water, no heat gun needed for most flat surfaces.
No, it’s designed for clean removal up to 60 days after application. Just peel slowly at a low angle, and any minor adhesive transfer wipes off with warm soapy water. On properly sealed hard floors, it comes up clean.
Yes, it’s built for that. The film is 2.5 mil thick with a reinforced middle layer, so it resists tears from dragging tools or moving appliances. It can handle daily foot traffic, wheelbarrows, and even light equipment without splitting.
It works on hardwood, laminate, tile, vinyl, concrete, and finished stone. Avoid using it on freshly waxed or oiled floors, or on carpet, because the adhesive needs a smooth, non-porous surface to bond without issues.
Up to 60 days for most indoor applications. After that, exposure to heat or direct sunlight can make the adhesive more aggressive, so we recommend replacing it every 45–60 days on long projects or in sunny rooms.
Yes, they sell standard rolls in 24-inch, 36-inch, and 48-inch widths, but you can request custom widths and pre-cut lengths. Some contractors order 60-inch rolls for open-plan areas to reduce seams and installation time.
Conclusion
Contractors who renovate homes for a living don’t grab just any roll off the shelf. They want film that stays put under foot traffic and tool drops yet peels away clean after weeks of work. The surface underneath changes everything: a prefinished hardwood floor needs a gentler adhesive than rough concrete or tile, and using the wrong tack can strip a finish or slide around when it matters most. Skipping temporary floor covering altogether is a gamble—one spilled bucket or dragged ladder can turn a simple remodel into an expensive floor replacement. The best floor protection film company understands these differences and stocks options that match each substrate instead of pushing a single one-size-fits-all product.
Room by room, the demands shift. High-traffic hallways need thicker, tear-resistant film, while a spare bedroom might get by with a lighter layer. Adhesive strength is where cheap films fail: too weak and the edges curl into trip hazards, too strong and you’re scraping residue off luxury vinyl plank. Budget films often cost more in the long run once you factor in re-application time and cleanup. A professional-grade supplier offers clear guidance on roll width, mil thickness, and tack level for kitchens, bathrooms, and living areas alike. That kind of specificity—rather than vague promises—is what keeps floors safe from the first day of demolition to the final walkthrough.
Contact Us
Contact Person: Jack Xu
Email: [email protected]
Tel/WhatsApp: 8615257328825
Website: https://www.temporaryprotectivefilm.com/